How to repair drywall nail pops
What Causes Nail Pops in Drywall
Nail pops occur when fasteners used to attach drywall panels to wall studs or ceiling joists push outward through the surface layer, creating a visible bump or dimple.
Seasonal wood movement in framing lumber is a common contributor, as studs expand and contract with changes in humidity, gradually working fasteners loose from their original position.
Tools and Materials You Will Need
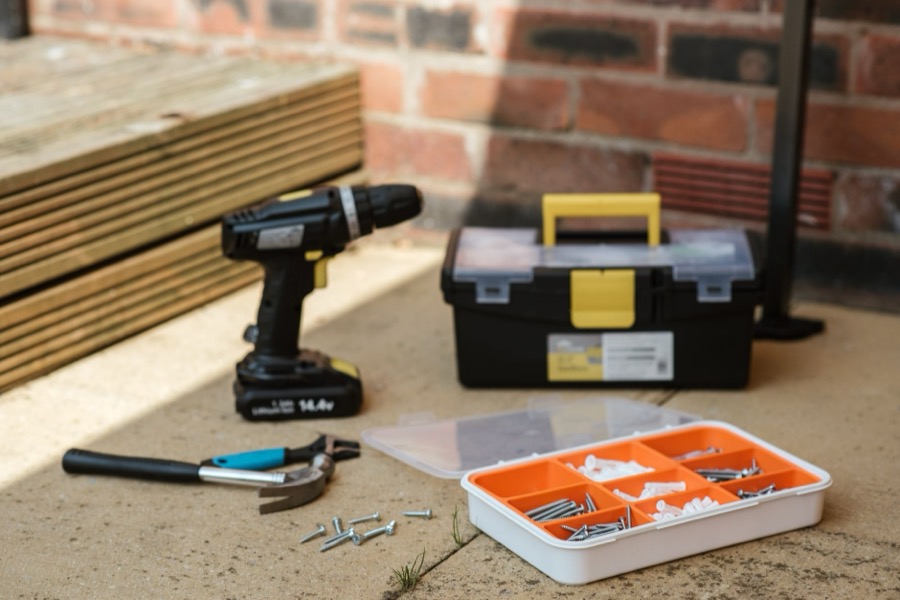
A basic nail pop repair requires a hammer or screw gun, drywall screws, a putty knife or broad knife, joint compound, fine-grit sandpaper, and primer.
Having the right amount of joint compound on hand matters — use the free drywall calculator at / to estimate material quantities before you start your repair project.
Step-by-Step Repair Process
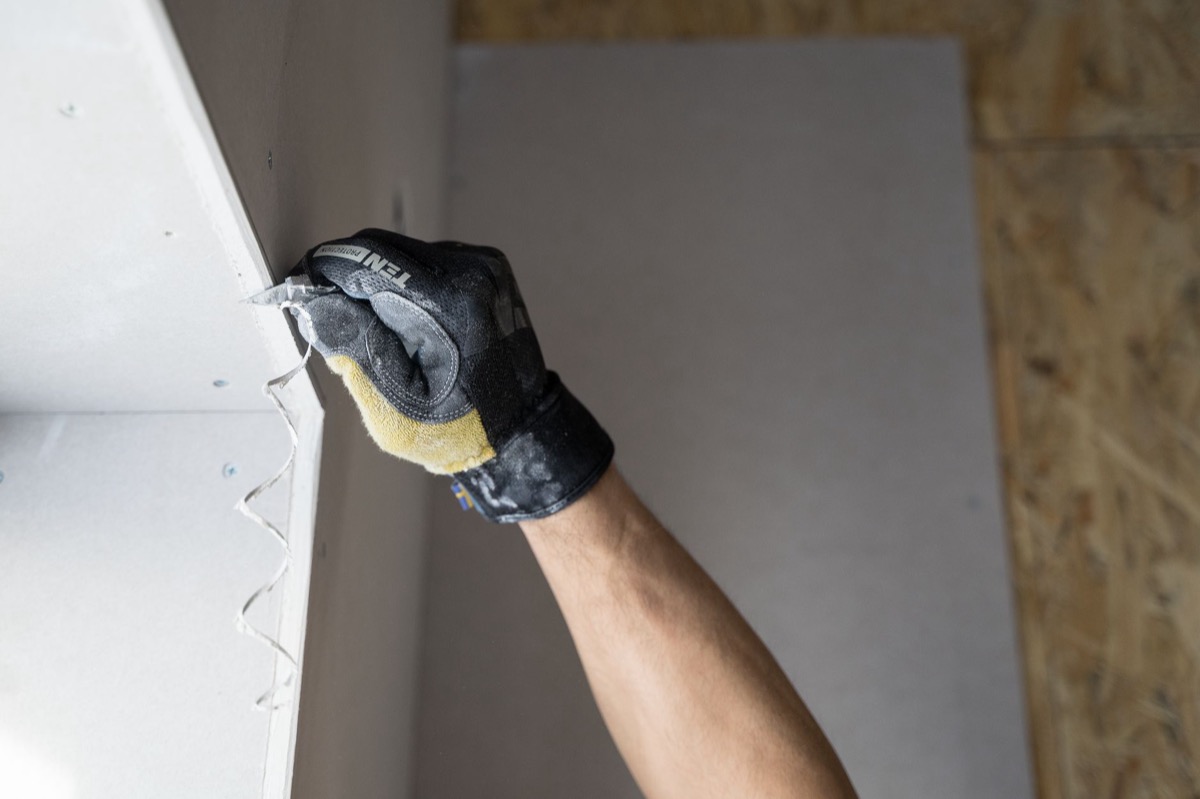
Begin by driving the popped nail back below the surface with a hammer, then drive a drywall screw about two inches above and below the nail to firmly re-anchor the panel to the framing.
Apply a thin coat of joint compound over each fastener dimple with a putty knife, feathering the edges outward. Allow the compound to dry fully, then apply a second coat, sand smooth when dry, and finish with a matching primer and paint.
Getting a Professional-Quality Finish
Proper drywall finishing technique involves building up multiple thin coats of joint compound rather than one thick layer, which reduces the risk of shrinkage cracks and surface irregularities.
Sanding between coats and applying a quality primer before painting helps blend the repaired area with the surrounding wall surface, making the fix virtually invisible.
Key takeaways
- Re-secure the panel with drywall screws above and below a nail pop before applying any joint compound — this addresses the root cause, not just the surface blemish.
- Multiple thin coats of joint compound, fully dried and sanded between applications, produce a smoother and more durable repair than a single thick application.
Related tools
Estimate materials with our free drywall calculator on DrywallCalcs.