How to repair nail pops in drywall
What Causes Nail Pops in Drywall
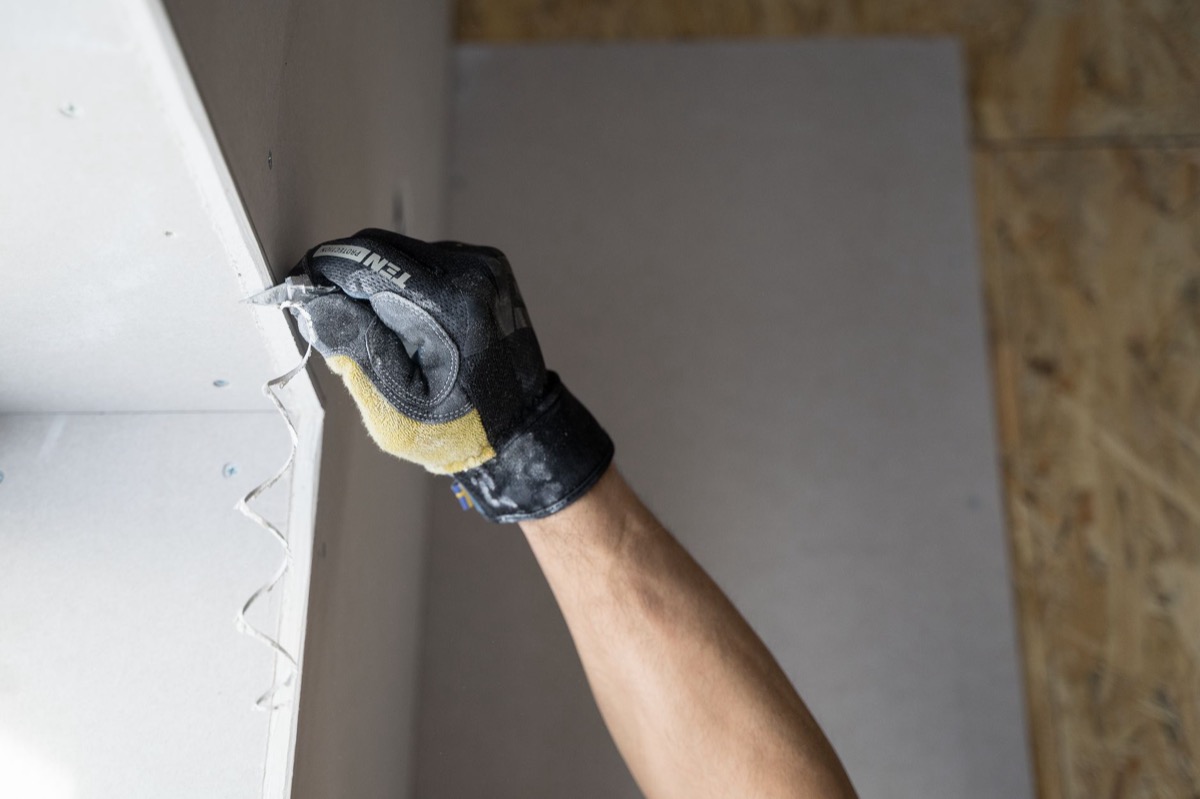
Nail pops occur when fasteners used to attach drywall panels to wall studs or ceiling joists work their way back out over time, pushing the drywall surface outward and creating a visible bump or crack.
Seasonal wood movement in framing lumber is a common contributing factor, as studs expand and contract with changes in humidity and temperature, gradually loosening the grip of nails or screws beneath the panel surface.
Tools and Materials You Will Need
Repairing nail pops requires a few basic supplies: a hammer or screw gun, drywall screws, a putty knife or drywall knife, setting-type or drying-type joint compound, and fine-grit sandpaper.
Having the right joint compound on hand is important for a smooth, lasting finish. The drywall finishing process involves applying compound in thin coats, so allow adequate drying time between each application.
Step-by-Step Repair Process
Begin by driving a drywall screw about two inches above and below the popped nail to pull the panel tight against the framing. Then either drive the popped nail back in slightly below the surface (called 'dimpling') or remove it entirely.
Once the panel is secured, apply a thin coat of joint compound over the dimpled fastener heads using a putty knife, feathering the edges outward. Allow each coat to dry fully before applying the next, typically requiring two to three coats for a flat, smooth result.
After the final coat dries, sand the area smooth with fine-grit sandpaper until the repair blends seamlessly with the surrounding wall surface. Prime the patched area before repainting to prevent the compound from showing through the finish coat.
Tips for a Professional-Looking Finish
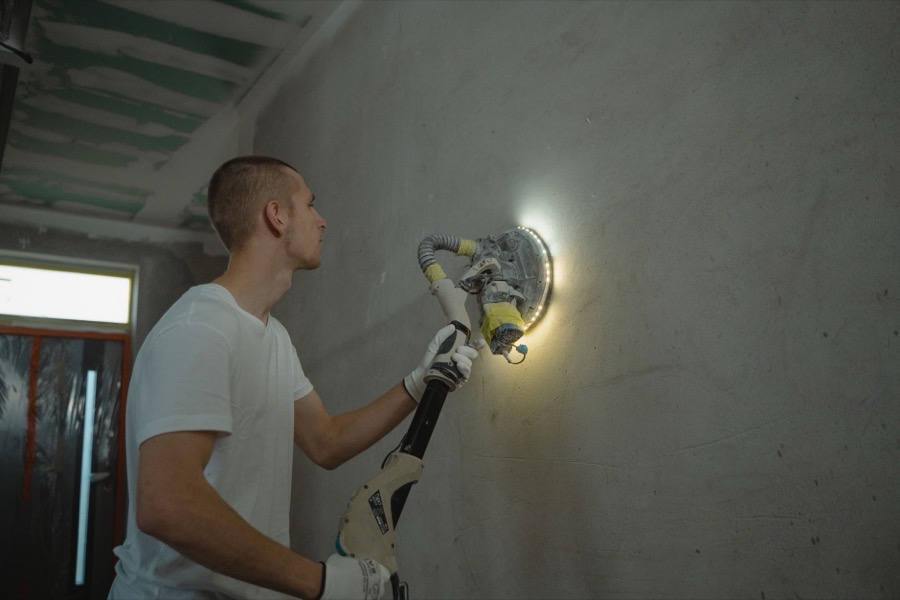
Drywall finishing is a multi-step skill that involves careful feathering of joint compound to avoid visible edges or ridges. Applying compound in thin, wide passes rather than thick, narrow ones helps achieve a flush result that is easier to sand.
If you are planning a larger drywall project alongside your repair work, use a free drywall calculator at / to estimate how many panels and how much compound you may need before heading to the supply store.
Key takeaways
- Secure the drywall panel with new screws near the popped nail before attempting any patching, so the repair does not simply re-pop over time.
- Apply joint compound in multiple thin coats, allowing each coat to dry fully, then sand smooth and prime before painting for the best finish.
Related tools
Estimate materials with our free drywall calculator on DrywallCalcs.